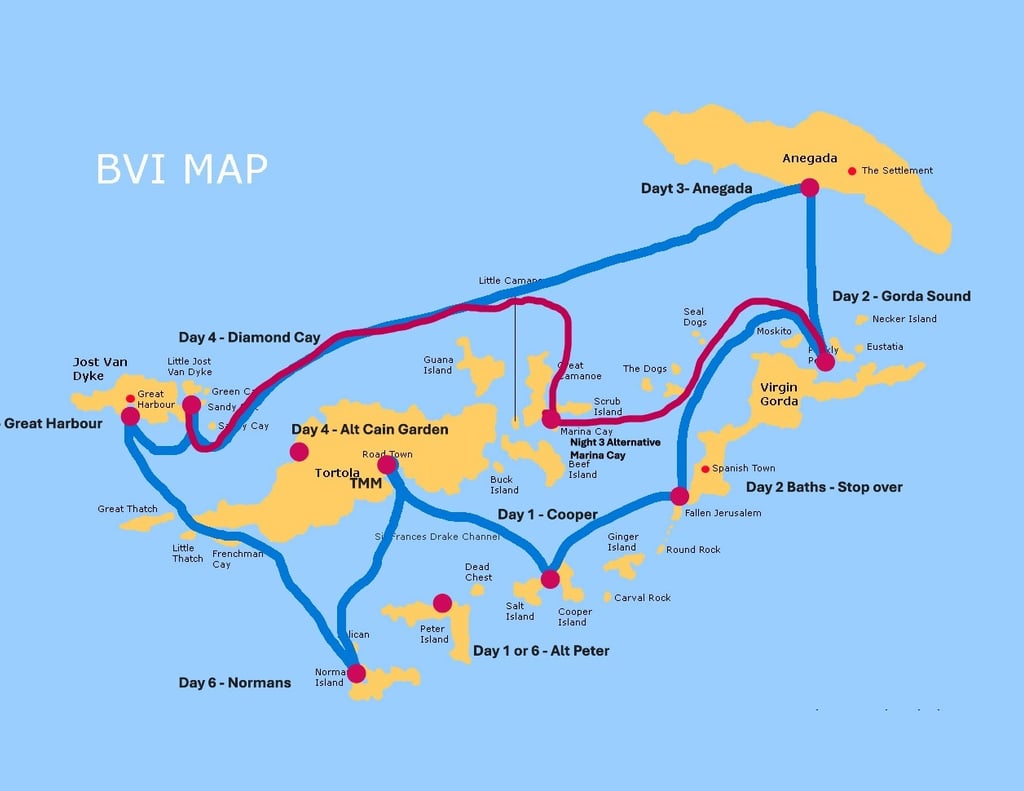
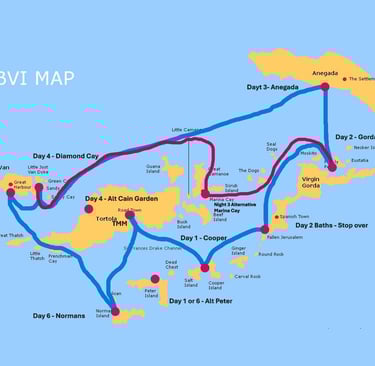
7 Day Itinerary for sailing the BVI's
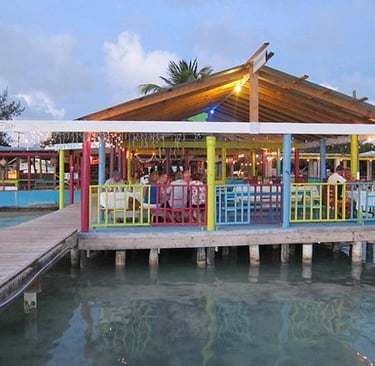
Day 1 - Cooper Island -After completing the arrival paperwork and briefings, you'll be on your way. We usually head to Cooper Island, just a short 1.5-hour sail away. It's the perfect spot to ease into the trip—relaxing on the beach, snorkeling, and exploring the resort. The afternoon happy hour is a highlight, and the restaurant is one of our favorites for dinner. Be sure to call or radio Cooper Island in advance to reserve a table.
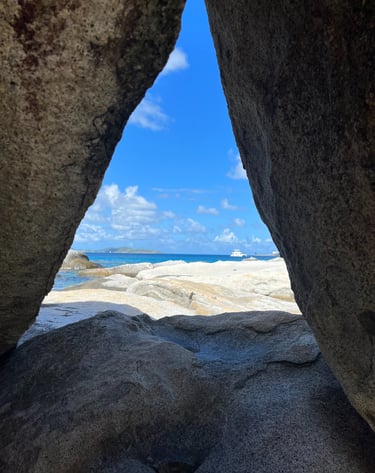
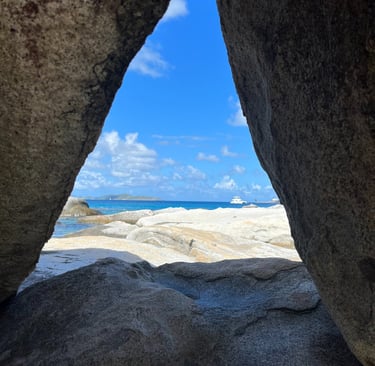
Day 2 - The Baths and Gorda Sound We always leave early for this one—visiting The Baths can easily take a few hours. It’s one of the BVI’s natural highlights and a must-see, but it gets crowded later in the day, especially when cruise ships are in port. There are two main ways to experience it:
Option 1 (our preferred): Pick up a national park mooring ball just outside The Baths, take your dinghy toward shore, tie off at the swim line, and make a short swim in to explore. If there’s a north swell, the moorings may be closed—check for a red flag before tying up.
Option 2: Sail into Gorda Sound and pick up a mooring in Leverick Bay. From there, you can take a taxi to The Baths and explore by land. While you're there, consider dinner at CocoMaya—one of the best restaurants in the BVIs. Leverick Bay also has a marina, a pool, and several good local restaurants.
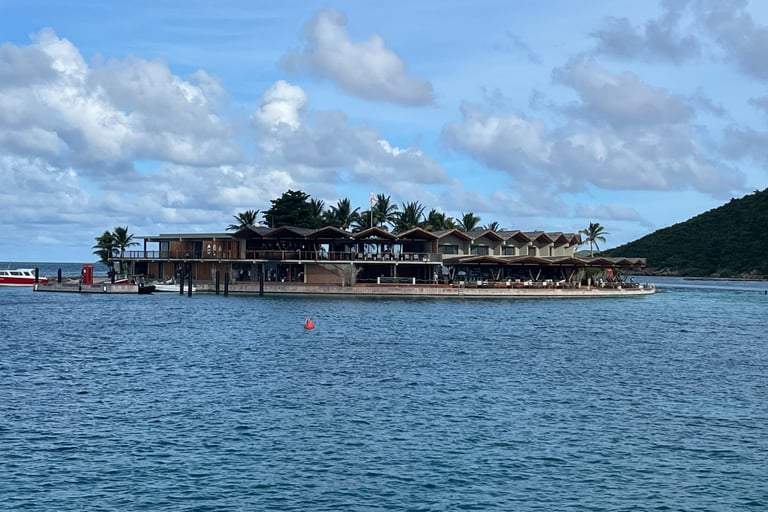
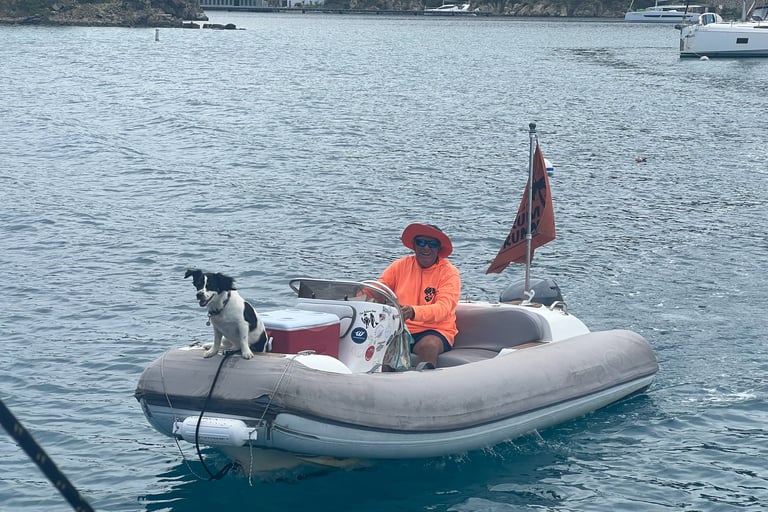
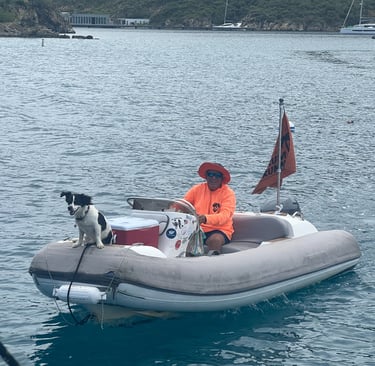
After visiting The Baths and making your way to Gorda Sound, you have a few options for where to stay. You can remain in Leverick Bay (as noted above), or anchor at Saba Rock or Bitter End Yacht Club (BEYC). We usually stay at one of these. Saba Rock offers a fun happy hour, and we always enjoy dinner at BEYC. Bonus: you can have a frozen drink delivered right to your boat from the famous Rum Runner—served by Drake the dog!

Day 3 - Anegada or Marina Cay- Day 3 is decision day. You can either make the crossing to Anegada or stay closer and head to Marina Cay.
The trip to Anegada is about 2.5 hours from Gorda Sound, and then about 3.5 to 4 hours to Jost Van Dyke if you're continuing there afterward. It’s important to check the weather and sea conditions before committing—this can be a rough passage, and we’ve had more than a few seasick guests on the way to or from Anegada. But if the weather’s calm, it’s absolutely worth it.
Anegada:
We usually leave early so we can enjoy a full day on the island. Renting a car (about $100) is the best way to explore—just do the loop and hit the beaches. Our favorites are around Cow Wreck Beach, where Tipsy’s and Cow Wreck Beach Bar are great spots to relax. Anegada is famous for its fresh lobster, and we’ve had great dinners at The Wonky Dog, though our go-to favorite is Potter’s by the Sea, where there's almost always a fun after-dinner dance party.
If you're only staying for one night, plan for an early departure the next day—it’s a 3–4 hour sail to Jost Van Dyke if that’s your next stop.
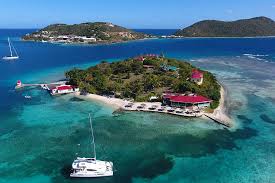
Marina Cay:
If the weather isn’t ideal or you’d prefer a shorter sail, Marina Cay is a great alternative. There’s excellent snorkeling right off the mooring balls and several dining options nearby. You can eat right at Marina Cay, or for a higher-end experience, dinghy over to Scrub Island Resort. Another option is a short ride to Trellis Bay, where The Loose Mongoose is a favorite, and there are several other casual beachside restaurants and shops worth exploring

Day 4 - Diamond Cay or Cain Garden Bay - Today's decision often depends on wave conditions. Cane Garden Bay can be uncomfortable if there’s any northerly swell, so it’s best to avoid it on those days.
Cane Garden Bay:
This is a beautiful, wide bay with a long sandy beach. It has plenty of character—restaurants, beach bars, a small grocery store, and even a rum distillery. If you're looking to visit a small town, hear some live local music, and have lots of dinner options, this is a great stop.
Diamond Cay:
A quieter alternative, Diamond Cay is a more low-key anchorage with limited dining options but incredible natural beauty. We usually plan to eat on board here, though there are two small bars worth checking out. The main attraction is the Bubbly Pool, a short hike from Foxy’s Taboo (where you’ll leave your dinghy). It’s a great spot to cool off and take a break for an hour or so.
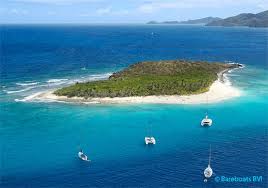
You’ll also find excellent snorkeling and photo ops at Sandy Spit, just offshore. Around the corner, Sandy Cay is another great stop—ideal for a lazy afternoon on the beach or a short hike through the island

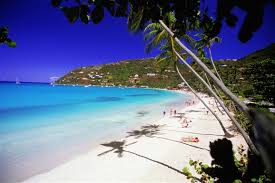

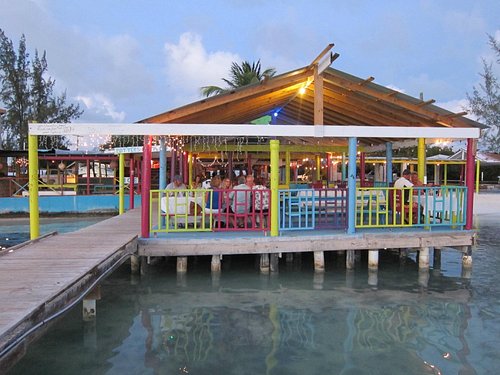
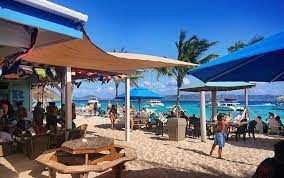
Day 5 - Great Harbor JVD - Great Harbor is one of the most popular stops in the BVIs, thanks to its access to both Foxy’s and White Bay, home of the famous Soggy Dollar Bar. We always aim to arrive by noon, then take the dinghy over to White Bay—about a 15-minute ride. It can be a wet trip, so plan to wear swimsuits and keep your gear dry.
White Bay is home to the original Soggy Dollar Bar, birthplace of the Painkiller cocktail. The beach has a great vibe, and there are a few other beach bars and restaurants worth checking out while you’re there.
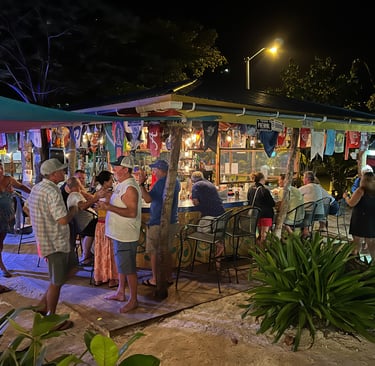
In the evening, head into town for dinner and drinks. There are 3–4 restaurants to choose from, and Foxy’s is famous for its BBQ buffet on Friday and Saturday nights. Great Harbor also has a small grocery store for provisions and a bakery with fresh bread and other treats—definitely worth a visit in the morning.


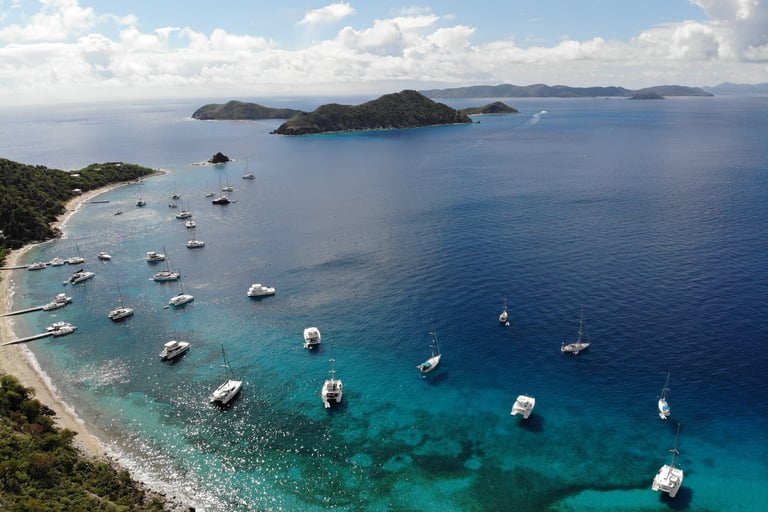
Day 6 – The Bight at Norman Island
We always leave early—there’s a lot to do on the way to The Bight.
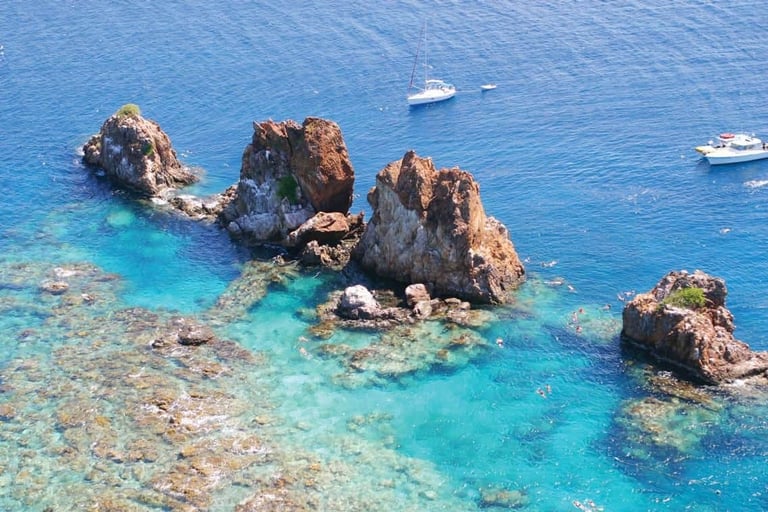
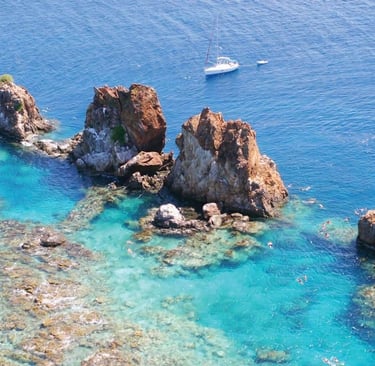
If you like snorkeling, a stop at The Indians is a must. These dramatic rock formations rise out of the sea and offer some of the best snorkeling in the BVIs. It gets busy fast, so aim to arrive early to grab a mooring ball.
After The Indians, we head over to The Caves, located just west of the entrance to The Bight. There are two main caves to explore, with lots of fish and calm waters—another great snorkeling stop.
Once you make your way into The Bight, grab a mooring and settle in for the afternoon or evening.
At the far end of the bay, you’ll find Pirates Bight, a restaurant and bar with a great setting—though it’s a bit pricier than other stops.
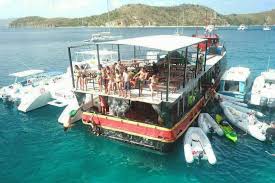
To finish the day, head over to the famous floating bar, Willy T. It’s known for strong drinks, decent food, and an anything-goes party vibe, including the option to jump off the top deck. Things can get rowdy, so if you’re looking for a more family-friendly experience, it's best to visit during the day.

Day 7 – Peter Island or Cooper Island
For your last night, you’ll want to be close to the TMM base so you can return the boat on time for your morning check-in.
We often make a second stop at Cooper Island—it's one of our favorite places to relax and wrap up the trip. That said, Peter Island is a great alternative. It offers a few anchorages and is home to a recently reopened resort that’s getting excellent reviews.
If you can fit it in, a snorkel stop at the RMS Rhone Marine Park is highly recommended. You’ll be exploring the remains of a British mail ship that sank in an 1867 hurricane. It's rare to find a shipwreck this close to the surface—perfect for snorkeling without needing scuba gear.
One last note: BoatyBall
You’ll be on a mooring ball for most of the trip, and many are now managed by a company called BoatyBall. You’ll need to download their app and set up an account before your trip. Getting a mooring during busy times can be competitive—you have to be on the app right at 7:00 AM to grab one, kind of like trying to get concert tickets for a big-name band.
Always inspect your mooring once you're tied off, and set an anchor alarm (there are free apps for this). Some moorings have failed—often because other boats have damaged them—and we've seen boats drift onto shore as a result.